
How to Create a 3D Sun Path Diagram in SketchUp and Illustrator

I know so many of you have been waiting for a 3D sun path diagram since our first tutorial on a regular, simple sun path - which by the way is to this date our most popular article ever! The difference between the two is simply a case of aesthetics. This diagram takes a little bit more effort but the key principles are the same.
A 🌞 Sun Path Diagram is one of the pages usually included in your Site Analysis section of your portfolio. After you are given a site, you go around and note things about the surroundings such as the opportunites and constraints, the adjacent buildings and think about what kinds of effects they will have on your site. Similarly, the orientation of the site is important to note if you're keen on building a sustainable building or you want natural lighting to have a specific purpose in the programme.
Software tools you will need for this diagram include:
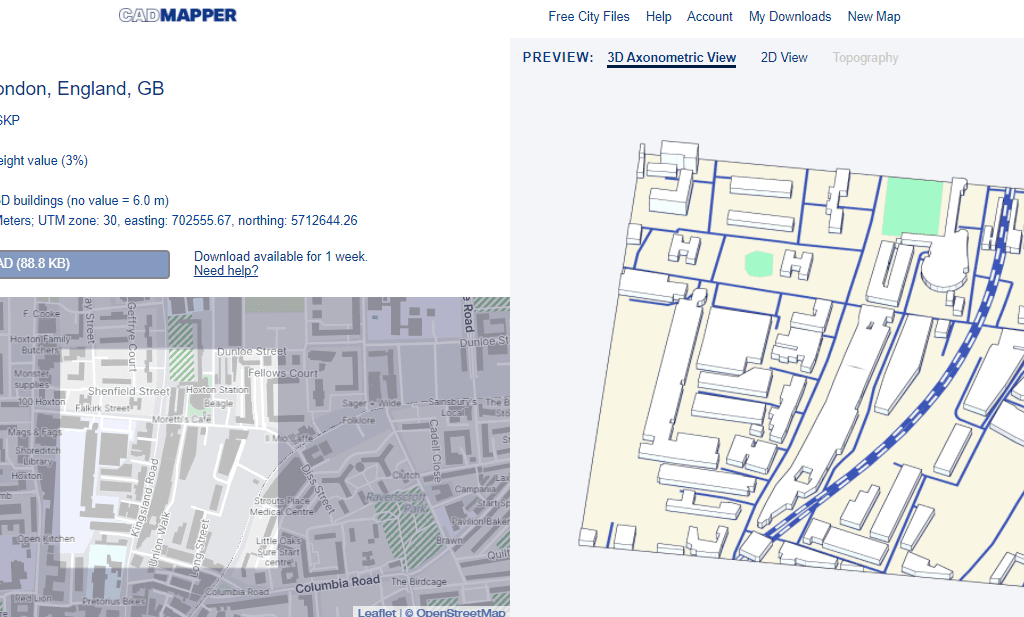
CAD Mapper or some kind of Ordnance Survey Map where you can download 3D building topography - if you can't find any, I suggest you make it up based on site photos
Sketchup is best for this but any 3D modelling software should do the same trick
The Steps
Download a simple line map of your site. It would be very wise to keep in mind a certain road or even the postcode of your site if you can so that it is easy to access.
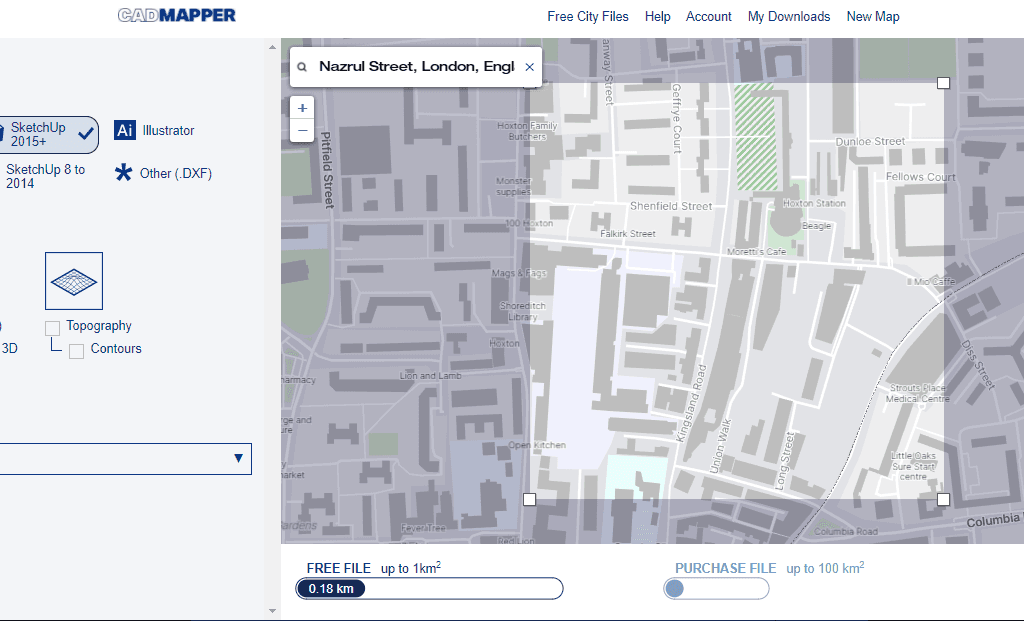
Set a false height in case there is no building data - some applications like Digimap have this for most UK areas but if you can't find any, just go by site photographs and estimates.
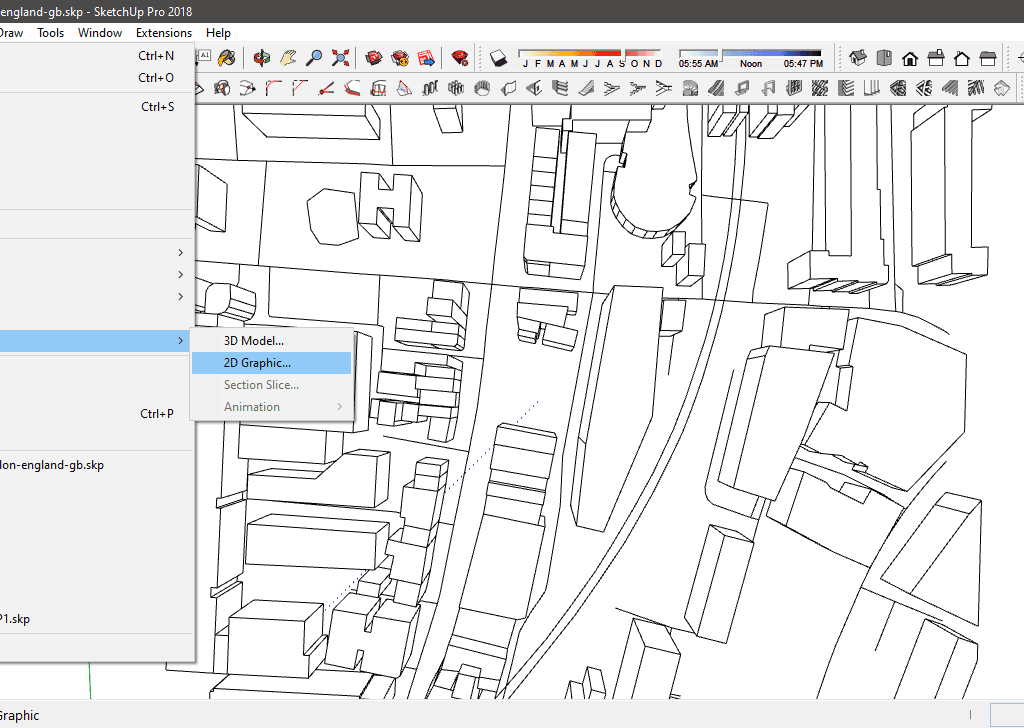
Open up the file in Sketchup and start playing with the model itself. You can get rid of the placement building that is on your site as we will be using a simple dashed red line to highlight this. Adjust the heights of the other buildings and figure out where your 'boundary' will be. It's always best to have more buildings modelled than to have gaps later on. If your chosen location doesn't have the data for building heights you might need to rely on your site knowledge and photographs or you could even look at documents in the area's Planning Portal.
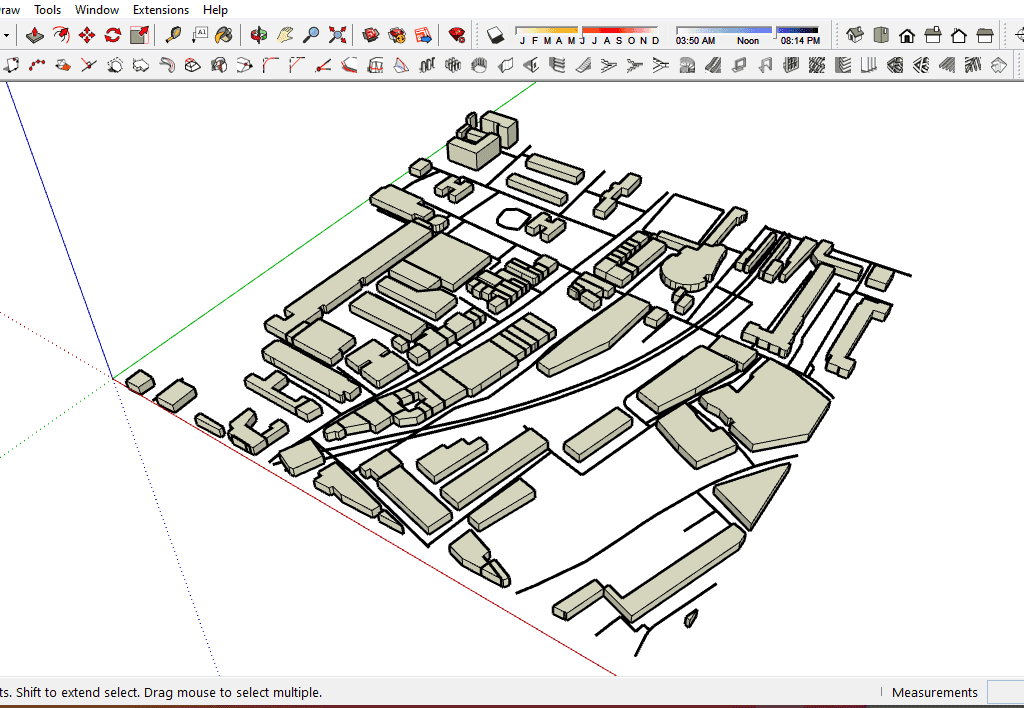
Now you need to fix the scene. For a cooler look, I suggest increasing the field of depth. You can do this by going to Camera > Field of View and drag until you think it looks alright from a top, perspective view. Usually this is about 120 degrees.
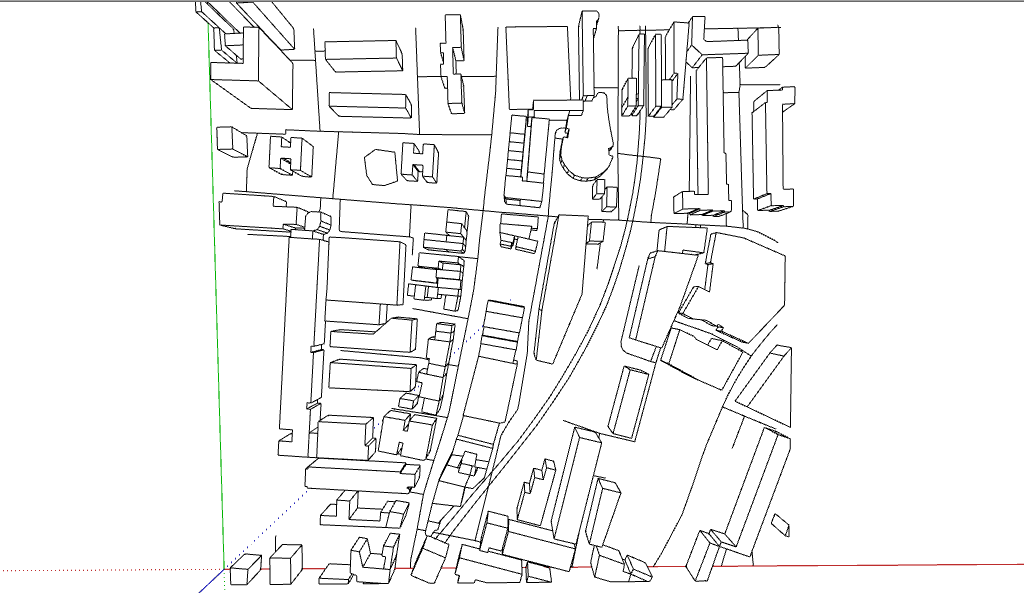
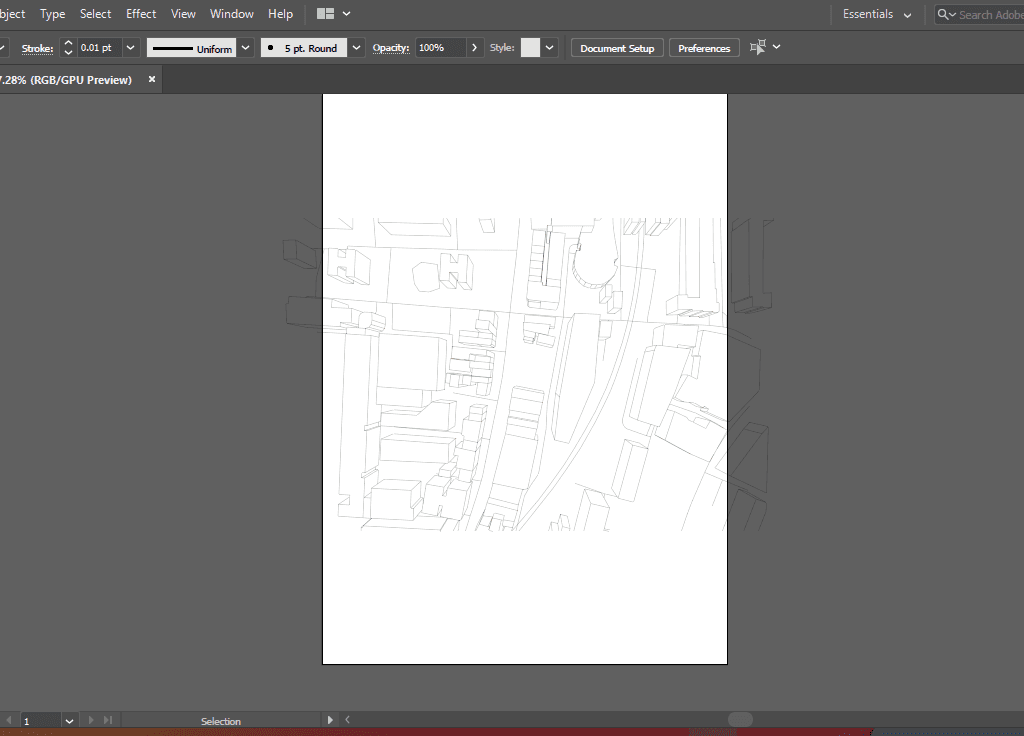
Exporting the file can take two roads. If you have access to Sketchup Pro, you can export the line PDF itself or you can take a simple screenshot of the scene and re-create it in Illustrator so that you have the freedom to play with line weights and colours.
Now we will go into Illustrator and set up our page. From a workflow angle, I would suggest using Illustrator to create the diagram itself, refining it in Photoshop if you wanted to add in textures and other rasterised assets. Then, importing into your master InDesign file of your portfolio. That is where you can add your text and page headings.
** Sometimes the PDF can seem quite scary and completely black. In this instance you will need to select everything and reduce the stroke width to about 0.01. Then you can scale it up by holding the Shift key and dragging.
Adding the details. You can follow the steps in our original sun path diagram tutorial to know how to add the 2D elements. Now we can begin Live Painting. Select everything (Ctrl + A) and go to Object > Live Paint > Make. Check to see that you're able to select most of the buildings individually by using the Live Paint Bucket Tool.
At this point, if you wanted to also paint the road or the edges of the map, you might want to draw in the lines and add it to the live paint selection. You can now begin painting. I usually choose a muted palette and differentiate between adjacent buildings, noteworthy buildings (like train stations or museums) and the others by doing gradients of grey. Don't forget to expand the Live Paint when you're done!
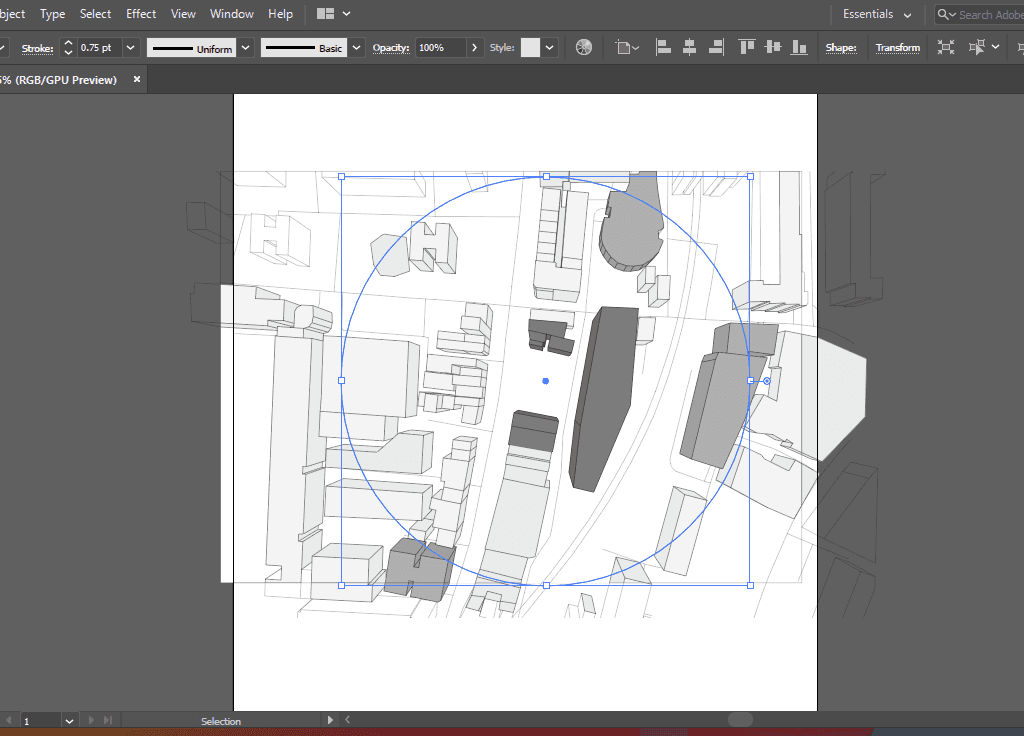
Keeping the site as your centre point, draw a circle on top and select everything then Right Click and choose Make Clipping Mask. If you wanted to add in shadows, you can export it as a separate .png image and mask it out in the same way. Usually you would need to resize and adjust according to your current scale.
Final Notes

For the buildings coming out of the circle boundary, you might want to trace them on a separate layer and put them on top of your clipped image. It's always nice to stroke the entire silhouette with a thicker line to make everything look a bit more cohesive.
If you wanted to take it a step further, you could include screenshots of actual shadow analysis using the shadows tool in Sketchup and making sure the location, date and timings are correct. Most of the other steps are in the previous tutorial as well so be sure to check those out.
Let me know if this tutorial was helpful in the comments below or find us on Instagram!
